
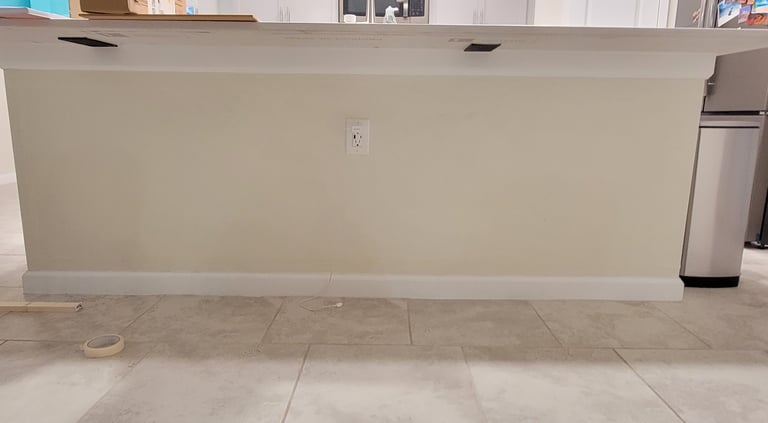
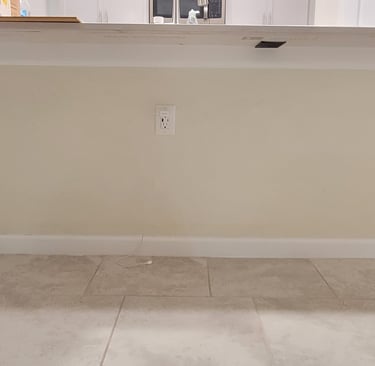
Kitchen island wall
DIY-ing your kitchen island wall is a beginners friendly project that can be done in a day. Project like this will allow to start exploring your creativity while making your home a reflection of yourself
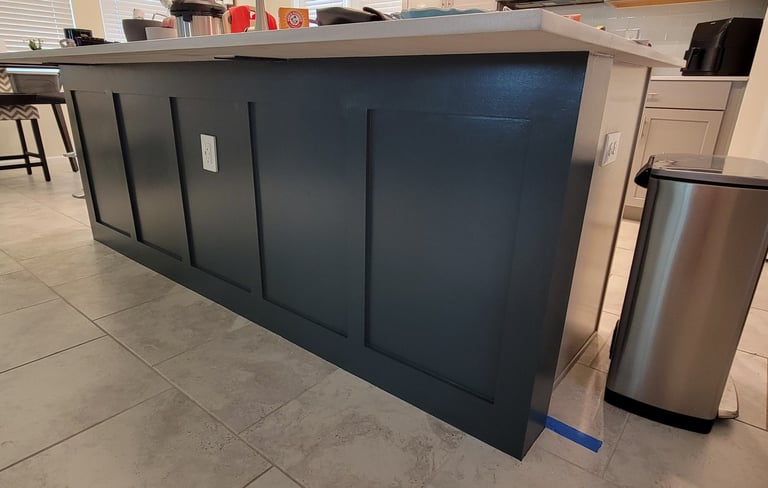
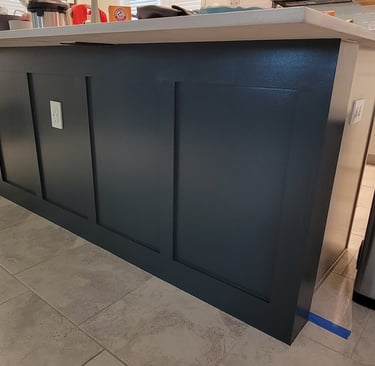
Kitchen Island
Kitchen island shouldn't be boring or too difficult to play with it nor expensive. Below you will find some basic steps to follow on how to custom the wall. Note: feel free to play with ideas and colors.
If you are moving ahead with board and batten approach, there are apps that will help you identify the distance you need to keep between what boards.
Plan & Measure – Decide on the design (panels, geometric, or board-and-batten), then measure and mark your wall for placement.
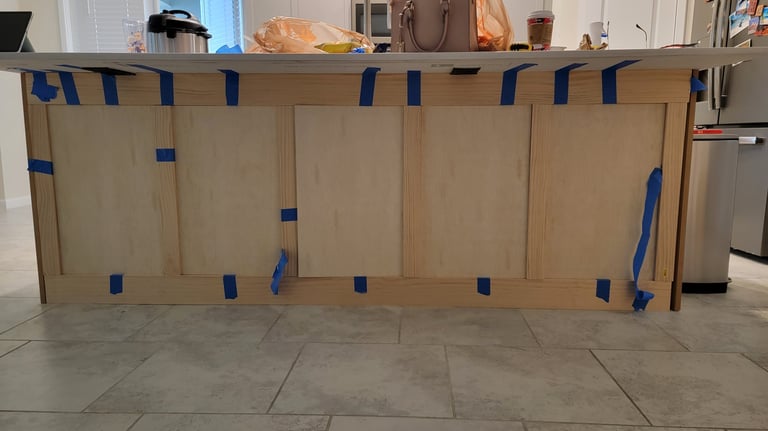
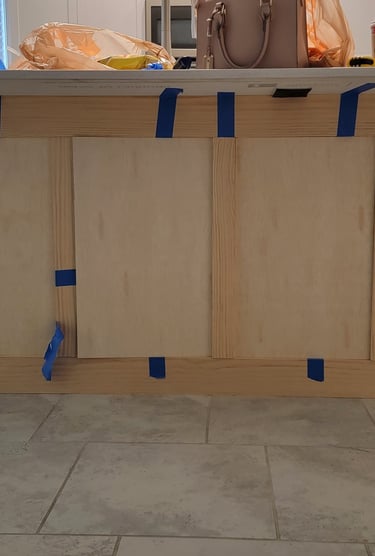
Cut & Prepare MDF – Cut the MDF boards or panels to size with a saw, making sure edges are smooth. I used boards of different sizes, however, you can cut cost by buying a sheet of MDF and have it cut down to desired boards sizes.
Attach MDF – Apply wood glue to the back of each piece, press it onto the wall, and secure with finishing nails using a nail gun or hammer. Note: In between boards you can add plywood (like I did) to have a cabinet-look surface. However, this step is optional
Fill & Sand – Fill nail holes and seams with wood filler, let it dry, then sand smooth for a seamless finish.
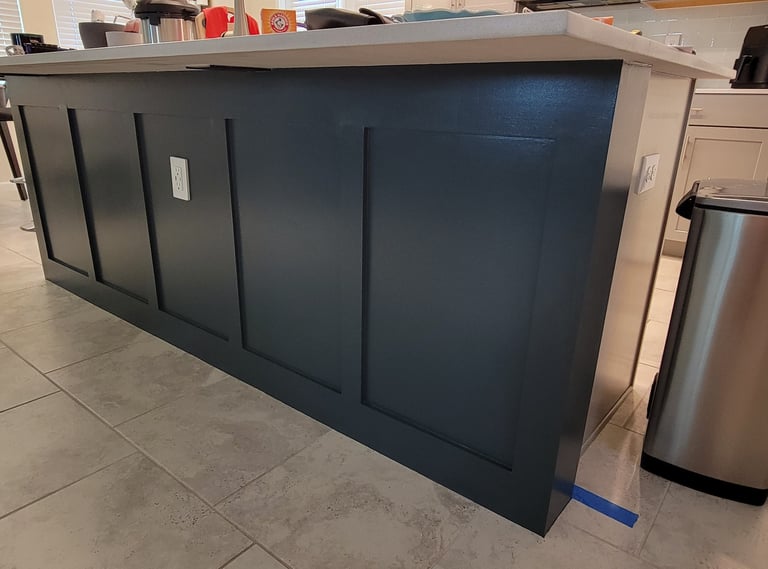
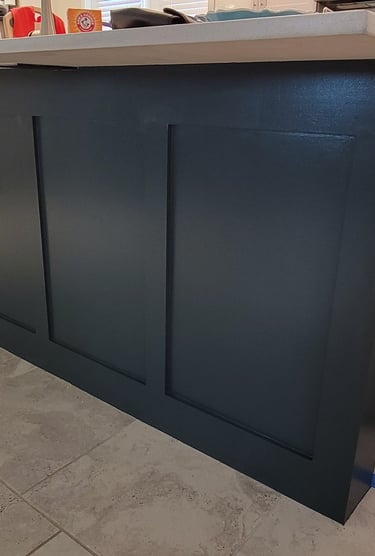
Prime & Paint – Apply a coat of primer to seal the MDF, then paint in your desired color for a polished look.
Would you like me to rewrite this as a short, beginner-friendly description (like a project guide), or as a step-by-step instruction list (more like a tutorial)?
Material list
Inspiration
Explore DIY projects and home decor ideas.
Projects
Ideas
© 2025. All rights reserved.